A CREATIVE MAMA GUIDE
No-carve pumpkins, with plenty of personality
Turn paper pumpkins into portraits, decorate a display pumpkin, and build a tiny pumpkin gallery without carving.
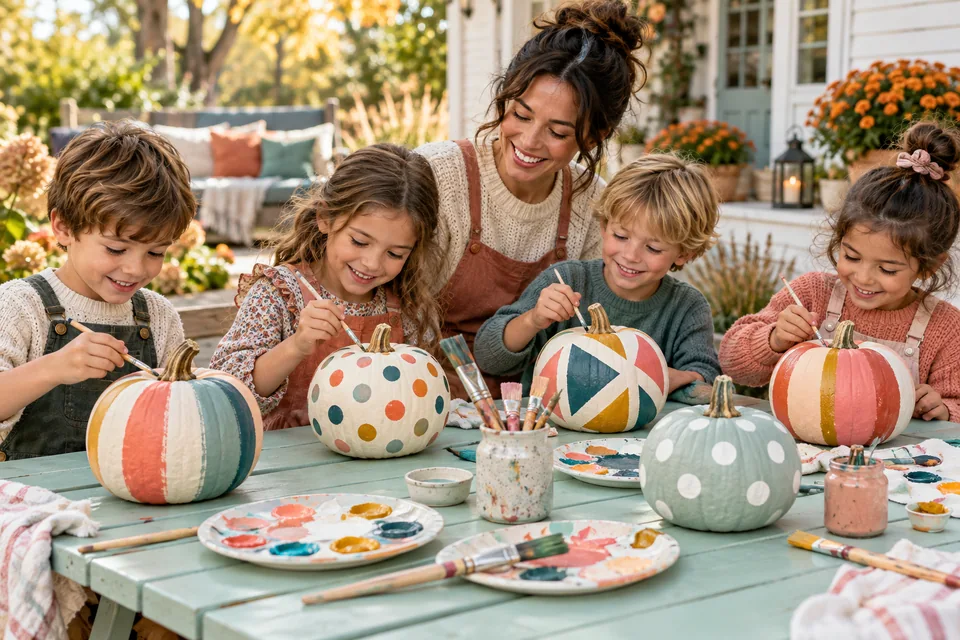
A no-carve party works best when you choose the surface before the supplies. Paper, real pumpkins, and reusable display pumpkins behave differently. For a mixed-age group, paper is the easiest starting point: it is flat, inexpensive, and happy to accept crayons, glue, and wonderfully unexpected ideas.
Let’s make it happen
Make paper pumpkin portraits
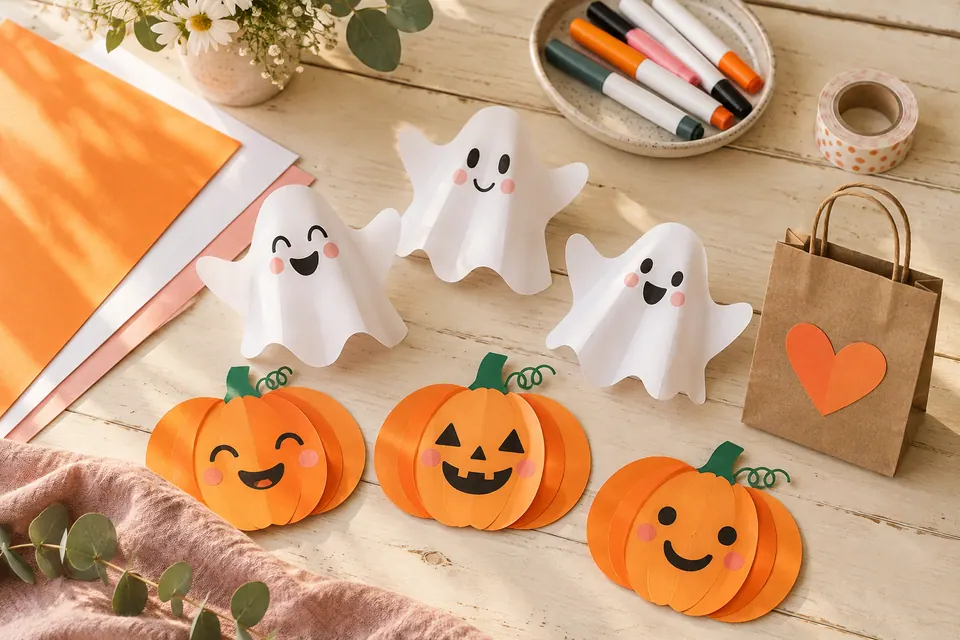
Draw a large pumpkin outline on a sheet of paper for each guest. Invite them to make a self-portrait, a pet, or a made-up character inside it. Add paper hair, glasses, or a crown with a glue stick. Keep the pieces large and let younger children draw the details instead of attaching loose embellishments.
Try a removable stripe design
For an adult’s decorative pumpkin, clean and dry the exterior and test paper tape on a small area. Apply a few loose vertical stripes or a simple geometric pattern without covering the stem. Adhesion varies, so treat this as a short-lived display rather than a weatherproof finish. Keep the pumpkin on a stable surface.
Open the pumpkin gallery
Give each creation a name and a short description. Place paper versions on a backing sheet or a low display board. Invite guests to point out a detail they enjoy in someone else’s work. If voting sounds fun, use friendly categories such as funniest name or most surprising color instead of choosing one overall winner.
When paint is involved
Follow the paint label for the surface and intended use. Washable paper paint may rub off a pumpkin, so test first and allow the recommended drying time. Keep decorated pumpkins out of food preparation; do not assume craft coatings are food-safe. Adults handle any cutting tools or hot glue.
Make it easy to take home
Paper art can travel in an ordinary folder. For heavier display pumpkins, ask guests to bring an appropriate box and have an adult carry them. Photograph the little gallery once, then enjoy the party without trying to document every brushstroke.
Planning for children or serving food? Visit our thoughtful hosting notes for useful guidance.
Useful things for this idea
These are editorial supply suggestions, not hands-on reviews. Check your cupboards first; borrow or improvise where the guide suggests it. Compare dimensions, labels, seller information, and current availability before ordering.
As an Amazon Associate I earn from qualifying purchases. Amazon buttons are paid links to searches, so you can compare current listings. How our shopping links work.
Decorative paper tape
Adds quick stripes to paper pumpkins, wrapping, and handmade cards.
Compare on Amazon ↗ (paid link)Colorful cardstock
One pack becomes leaf place cards, little ghosts, paper houses, and thank-you notes.
Compare on Amazon ↗ (paid link)Washable craft brush set
A few brush sizes let guests choose broad color blocks or small paper details.
Compare on Amazon ↗ (paid link)Reusable decorative pumpkins
Create a fall focal point that works for Thanksgiving or a Little Pumpkin shower.
Compare on Amazon ↗ (paid link)Make the next step easy
Put your guest count, spending limit, one personal detail, and setup jobs on the free party planner. You can print it or save it as a PDF without signing up.
A little more inspiration
Halloween · 20–30 minute setup
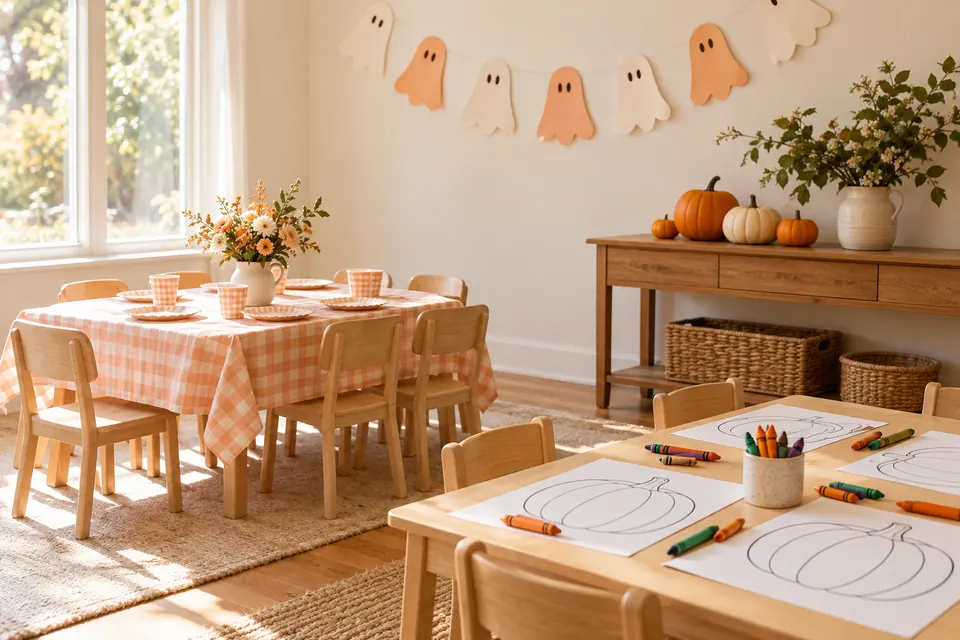
Halloween games that are more silly than scary
Play a paper-pumpkin hunt, a spooky drawing relay, and a friendly creature guessing game with simple setup.
Read the guide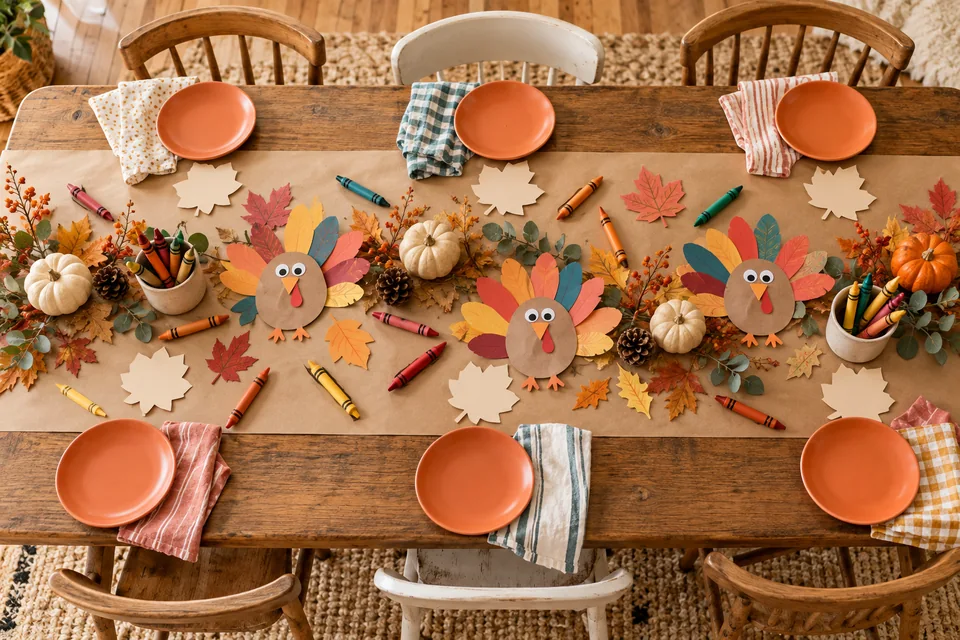
Thanksgiving · 20–30 minute setup
A Thanksgiving kids’ table that welcomes the kids
Set up a conversation-friendly drawing place with gratitude leaves, paper menus, and a calm activity basket.
Read the guide